
Imagine you’re in your kitchen, surrounded by the smell of roasted red peppers. Your hands smell like chickpeas as you make a dish that feels like a trip to the Mediterranean. Making your own roasted red pepper hummus turns your kitchen into a place of joy.
This chickpea dip is more than a snack; it’s a taste of the Mediterranean in your home. In 15 minutes, you can make a delicious, healthy spread.
Get ready to mix chickpeas, tahini, garlic, and roasted red peppers into a creamy dip. This recipe is about more than just following steps. It’s about connecting with Mediterranean traditions in your own kitchen.
Table of Contents
Understanding the History of Mediterranean Hummus
Hummus is a favorite vegetarian appetizer with roots in Mediterranean cuisine. This creamy dip has been enjoyed in the Middle East for centuries. It has evolved into many different versions.
Origins of Traditional Hummus
The exact place where hummus was first made is still a mystery. Ancient Egypt, Greece, and the Levant all say they created it. But one thing is clear: hummus has been a key part of Middle Eastern food for over a thousand years.
Its ingredients – chickpeas, tahini, lemon, and garlic – have stayed the same. This shows how much people value its simplicity and taste.
Evolution of Red Pepper Variations
As hummus traveled to new places, chefs started adding their own twists. Roasted red peppers were a new addition, bringing a sweet and smoky flavor. This change became popular in the late 20th century, as people began mixing different cuisines.

Cultural Significance in Middle Eastern Cuisine
In many Middle Eastern countries, hummus is more than food. It’s a symbol of welcome and togetherness. Families share bowls of hummus, using warm pita to enjoy it.
It’s a sign of hospitality, often given to guests. As a dish that everyone can enjoy, hummus brings people together, no matter their dietary choices.
“Hummus is not just a dish, it’s a way of life in the Middle East. It’s how we show love, how we celebrate, and how we connect with our roots.”
Hummus has come a long way from its origins to become a favorite worldwide. It has kept its essence as a cherished part of Mediterranean cuisine.
Essential Ingredients for Roasted Red Pepper Hummus Recipe
To make a tasty roasted red pepper hummus, you need the right ingredients. Each one is important for the perfect taste and texture of this chickpea dip.

- Chickpeas: The base that makes it creamy
- Roasted red peppers: Give it a sweet, smoky taste and a bright color
- Tahini spread: Adds richness and a nutty flavor
- Garlic: Brings a strong, aromatic taste
- Lemon juice: Adds a fresh, citrusy flavor
- Olive oil: Makes it smooth and carries the flavors
- Salt and cumin: Enhance the taste
The secret to this recipe is finding the right mix of these ingredients. You can adjust them to your liking. Add more garlic for a stronger taste or more tahini for creaminess.
| Ingredient | Amount | Function |
|---|---|---|
| Chickpeas | 1 can (15 oz) | Main base |
| Roasted red peppers | 1/2 cup | Flavor and color |
| Tahini spread | 1/4 cup | Creaminess |
| Garlic | 2-3 cloves | Aroma and zest |
| Lemon juice | 2 tablespoons | Acidity |
With these ingredients, you’re all set to make a delicious roasted red pepper hummus. It’s sure to wow your guests and make your snacks better.
Kitchen Tools and Equipment Needed
To make the best roasted red pepper hummus, you need some key kitchen tools. Whether you’re making a healthy snack or a mezze platter, the right tools make a big difference. They help you prepare smoothly and get delicious results.
Food Processor Requirements
A good food processor is essential for creamy hummus. Look for one with at least a 7-cup capacity. It should also have a strong motor to handle chickpeas and tahini. Pulse and puree settings are great for getting the right consistency.
Optional Utensils for Garnishing
Use these tools to make your hummus look great:
- Microplane grater for zesting lemon
- Small offset spatula for creating swirls
- Olive oil dispenser for drizzling
- Herb scissors for finely chopping fresh herbs

Storage Container Recommendations
Storing hummus right keeps it fresh longer. Use airtight glass containers with snap-lock lids. They keep flavors in and odors out. For easy snacks, get small containers for portion control.
| Tool | Purpose | Recommended Features |
|---|---|---|
| Food Processor | Blending ingredients | 7+ cup capacity, strong motor |
| Garnishing Tools | Enhancing presentation | Microplane, spatula, oil dispenser |
| Storage Containers | Preserving freshness | Airtight, glass, snap-lock lids |
Step-by-Step Roasting Process for Red Peppers
Roasting red peppers is key to making the best roasted red pepper hummus. This dish is a favorite in Mediterranean cuisine. We’ll look at two ways to roast peppers and how to get them ready for your hummus.
Oven Roasting Method
First, heat your oven to 450°F. Clean and dry the peppers, then put them on a baking sheet. Roast for 20-25 minutes, turning them now and then, until they’re charred and blistered. This method gives your hummus a deep, smoky taste.
Stovetop Char Technique
For a faster way, try using your stovetop. Put peppers right on the grate over high heat. Turn them every few minutes until they’re charred on all sides. This adds a rustic flavor to your dish.
Peeling and Preparing Roasted Peppers
Once roasted, put peppers in a bowl and cover with plastic wrap. Let them steam for 10-15 minutes. This makes peeling easier. Then, remove the skin, seeds, and stems. Cut the peppers into strips for your hummus.
| Roasting Method | Cooking Time | Flavor Profile |
|---|---|---|
| Oven Roasting | 20-25 minutes | Deep, smoky |
| Stovetop Char | 10-15 minutes | Rustic, charred |
Choose any method, but make sure your peppers are well roasted. This will make your roasted red pepper hummus truly special.
Creating the Perfect Chickpea Base
The base of a great chickpea dip starts with well-prepared chickpeas. You can use either canned or dried chickpeas. The goal is to get a smooth and creamy base for delicious hummus.
Canned chickpeas are convenient. Just drain and rinse them to get rid of extra sodium. If you choose dried chickpeas, soak them in water overnight. This makes them softer and cooks them faster.
To prepare dried chickpeas, place them in a pot with fresh water, bring to a boil, and then simmer for approximately an hour until they become tender. Adding a pinch of baking soda to the water can make the dip creamier.
“The secret to silky smooth hummus lies in the preparation of the chickpeas.”
To get an ultra-smooth texture, remove the chickpea skins after cooking. This step makes a big difference in the final dip. Just pinch each chickpea gently to remove the skin.
Once your chickpeas are ready, they’ll be the perfect base for your hummus. They provide a creamy texture and a neutral flavor. This lets other ingredients stand out while adding a satisfying feel to your dip.
Mastering the Art of Tahini Integration
Tahini spread is a key ingredient in creating authentic roasted red pepper hummus. This Middle Eastern dish relies on the perfect balance of flavors, with tahini playing a crucial role. Let’s explore how to select, mix, and adjust tahini for the best results.
Selecting Quality Tahini
Choose a high-quality tahini spread for your hummus. Look for brands that use 100% sesame seeds without additives. The best tahini has a smooth texture and a nutty flavor without bitterness. Avoid tahini that’s separated or has an off smell.
Proper Mixing Techniques
To integrate tahini into your hummus:
- Stir the tahini well before measuring
- Add tahini to the food processor with chickpeas
- Blend until smooth, scraping sides as needed
- Gradually add liquid to achieve desired consistency
Adjusting Tahini Proportions
The right amount of tahini can make or break your hummus. Start with this basic ratio:
| Ingredient | Amount |
|---|---|
| Chickpeas | 1 can (15 oz) |
| Tahini | 1/4 cup |
| Roasted Red Peppers | 1/2 cup |
Adjust tahini to your taste. For a stronger sesame flavor, increase to 1/3 cup. If you prefer a milder taste, reduce to 2 tablespoons. Remember, tahini adds creaminess and depth to your Middle Eastern dish, so balance is key.
Flavor Enhancement and Seasoning Guide
Take your garlic hummus to the next level with simple yet effective flavor boosts. The secret to a memorable Mediterranean dish is finding the right balance of seasonings. Begin by roasting garlic cloves with your red peppers for a richer flavor.
Try these ingredients to enhance your hummus:
- Lemon zest for a bright taste
- Smoked paprika for a smoky flavor
- Cumin for a warm, earthy taste
- Fresh herbs like parsley or cilantro
Salt is key in bringing out your garlic hummus’s flavors. Add it slowly, tasting as you go. To add some heat, sprinkle a pinch of cayenne pepper or drizzle a bit of hot sauce.
“The secret to great Mediterranean cuisine is not just in the ingredients, but in the balance of flavors.”
Here’s a seasoning guide to get you there:
| Ingredient | Amount (per cup of hummus) | Flavor Profile |
|---|---|---|
| Roasted Garlic | 2-3 cloves | Rich, savory |
| Lemon Juice | 1-2 tablespoons | Bright, tangy |
| Cumin | 1/4 teaspoon | Earthy, warm |
| Smoked Paprika | 1/8 teaspoon | Smoky, sweet |
| Sea Salt | 1/4 teaspoon | Enhances all flavors |
Feel free to adjust these amounts to your liking. Your homemade garlic hummus will be a true Mediterranean delight with these tips.
Storage Tips and Shelf Life
Keeping your roasted red pepper hummus fresh is all about proper storage. This healthy snack can stay good for days if stored right. It’s perfect for any time you need a tasty, vegetarian appetizer.
Refrigeration Guidelines
Put your homemade hummus in an airtight container in the fridge. It keeps well for 4-7 days. To keep it creamy, cover the top with olive oil before sealing. This stops the surface from drying out.
Freezing Methods
Freezing is great for keeping it longer. Divide your hummus into small containers or ice cube trays. Make sure there’s room at the top for it to expand. Frozen hummus can last up to 4 months. Simply let it thaw in the fridge overnight before eating it.
Signs of Spoilage
Always check your hummus before eating. Look out for these signs of spoilage:
- Mold growth
- Off odors
- Significant color changes
- Sour or unpleasant taste
If you see any of these, it’s time to throw it away. Remember, when in doubt, it’s best to be safe and discard it. By following these tips, your roasted red pepper hummus will stay delicious and healthy for days.
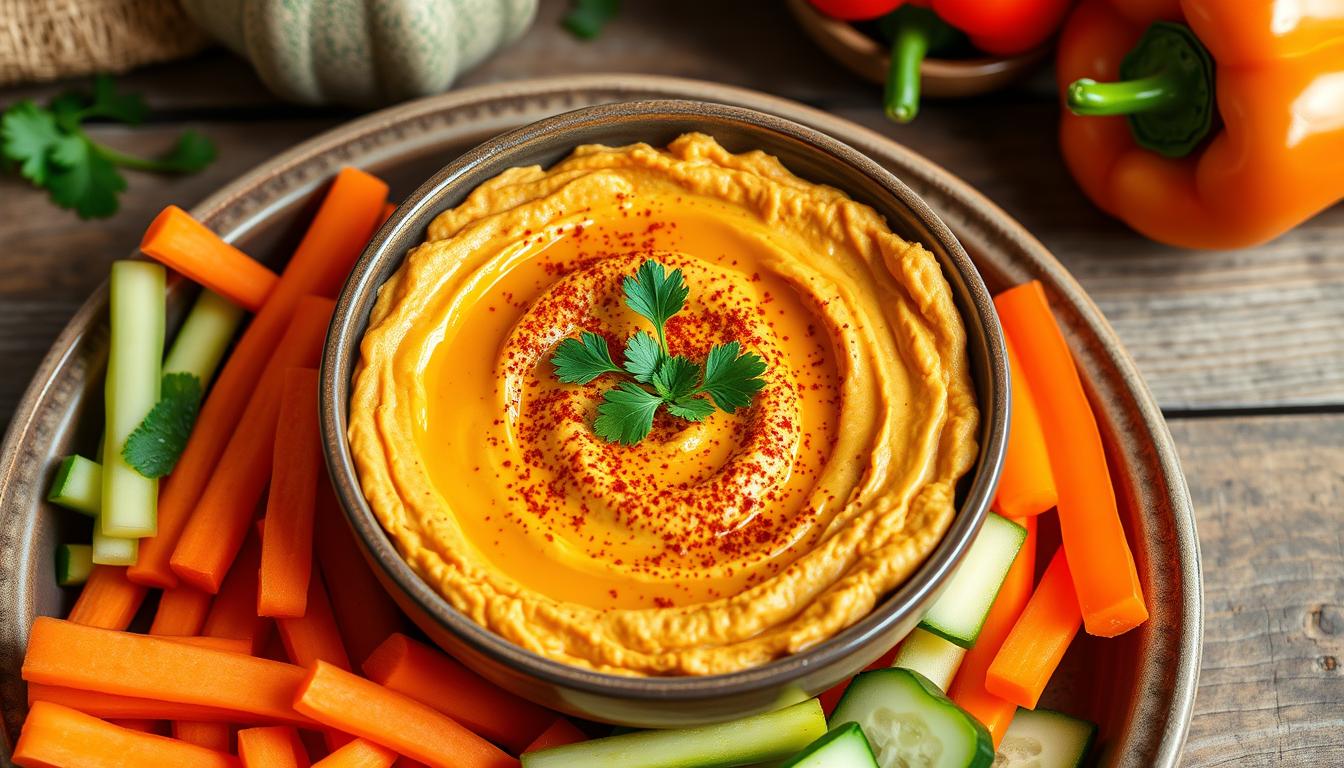
Serving Suggestions and Presentation Ideas
Make your roasted red pepper hummus stand out with creative serving ideas. It’s a star in Mediterranean cuisine and a great addition to mezze platters.
Traditional Accompaniments
Enjoy your hummus with warm pita bread, fresh veggies, or crispy falafel. Add olive oil and paprika for a real touch. For a full mezze platter, add olives, dolmas, and tabbouleh.
Modern Pairing Options
Try these new ideas:
- Spread on sandwiches or wraps
- Use as a pasta sauce
- Dollop on grilled meats or roasted veggies
- Mix into salad dressings
Garnishing Techniques
Boost your hummus’s look with these garnishes:
| Garnish | Flavor Profile | Visual Appeal |
|---|---|---|
| Toasted pine nuts | Nutty, crunchy | Golden brown |
| Chopped parsley | Fresh, herbal | Bright green |
| Roasted chickpeas | Savory, crispy | Rustic texture |
| Pomegranate seeds | Sweet, tart | Ruby red pops |
Use a spoon to make swirls or patterns on your hummus. This simple trick makes your mezze platter look amazing and boosts your Mediterranean spread.
Conclusion
Making your own roasted red pepper hummus at home is a fun and rewarding task. It’s a healthy snack that combines great taste with good nutrition. By following the steps in this guide, you’ll learn how to make this tasty Mediterranean dip.
The secret to amazing roasted red pepper hummus is using top-notch ingredients and the right preparation methods. Roasting the peppers and mixing the tahini are key steps that affect the flavor. Feel free to adjust the seasonings to suit your preferences.
This dish is perfect as an appetizer, spread, or snack on its own. Its bright color and deep flavor will wow everyone. Try out this recipe and see how simple it is to add a Mediterranean touch to your cooking.